Welcome To Wild Cottage

Recipes, wild food, natural remedies, organic gardening, Irish music, eating and thoughts on life in general

Showing posts with label Tomatoes. Show all posts

Friday, 24 July 2015

Homemade Greenfly Spray

This summer I am growing a few different varieties of chillies on my home office window sill.  They are coming along nicely considering it was very late when I planted the seeds.

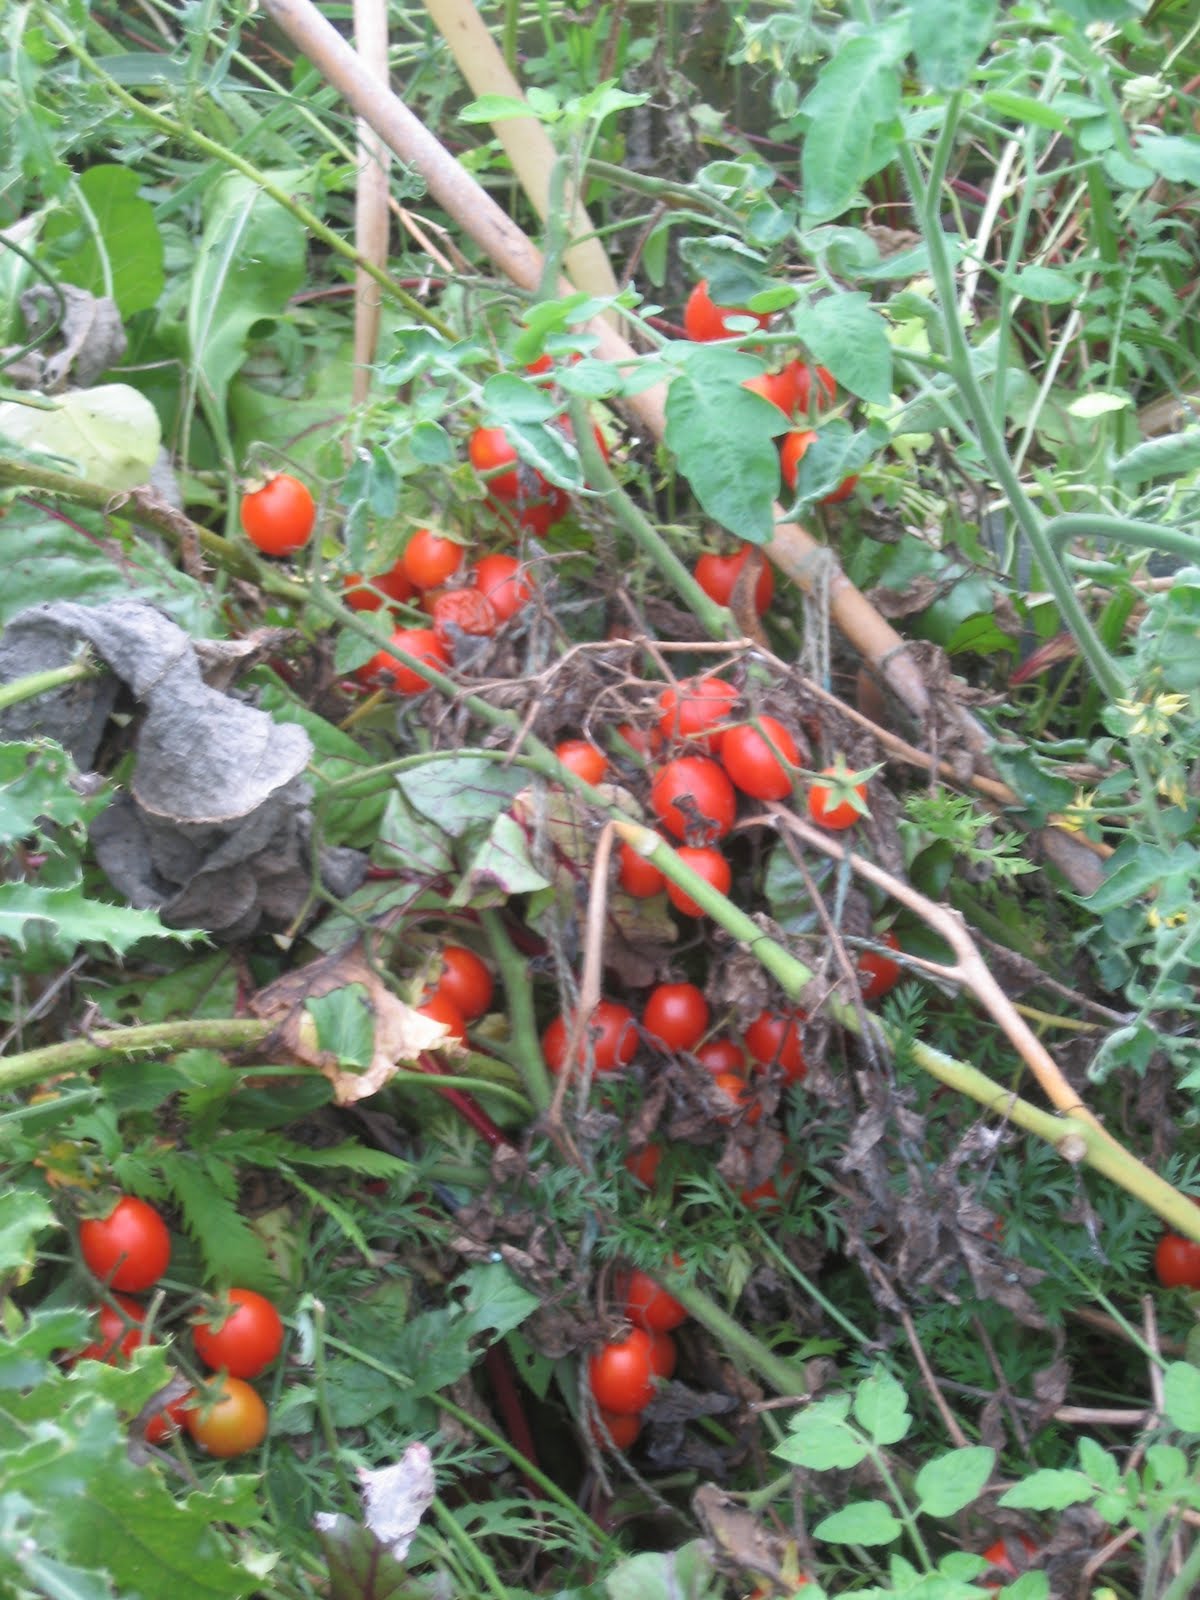
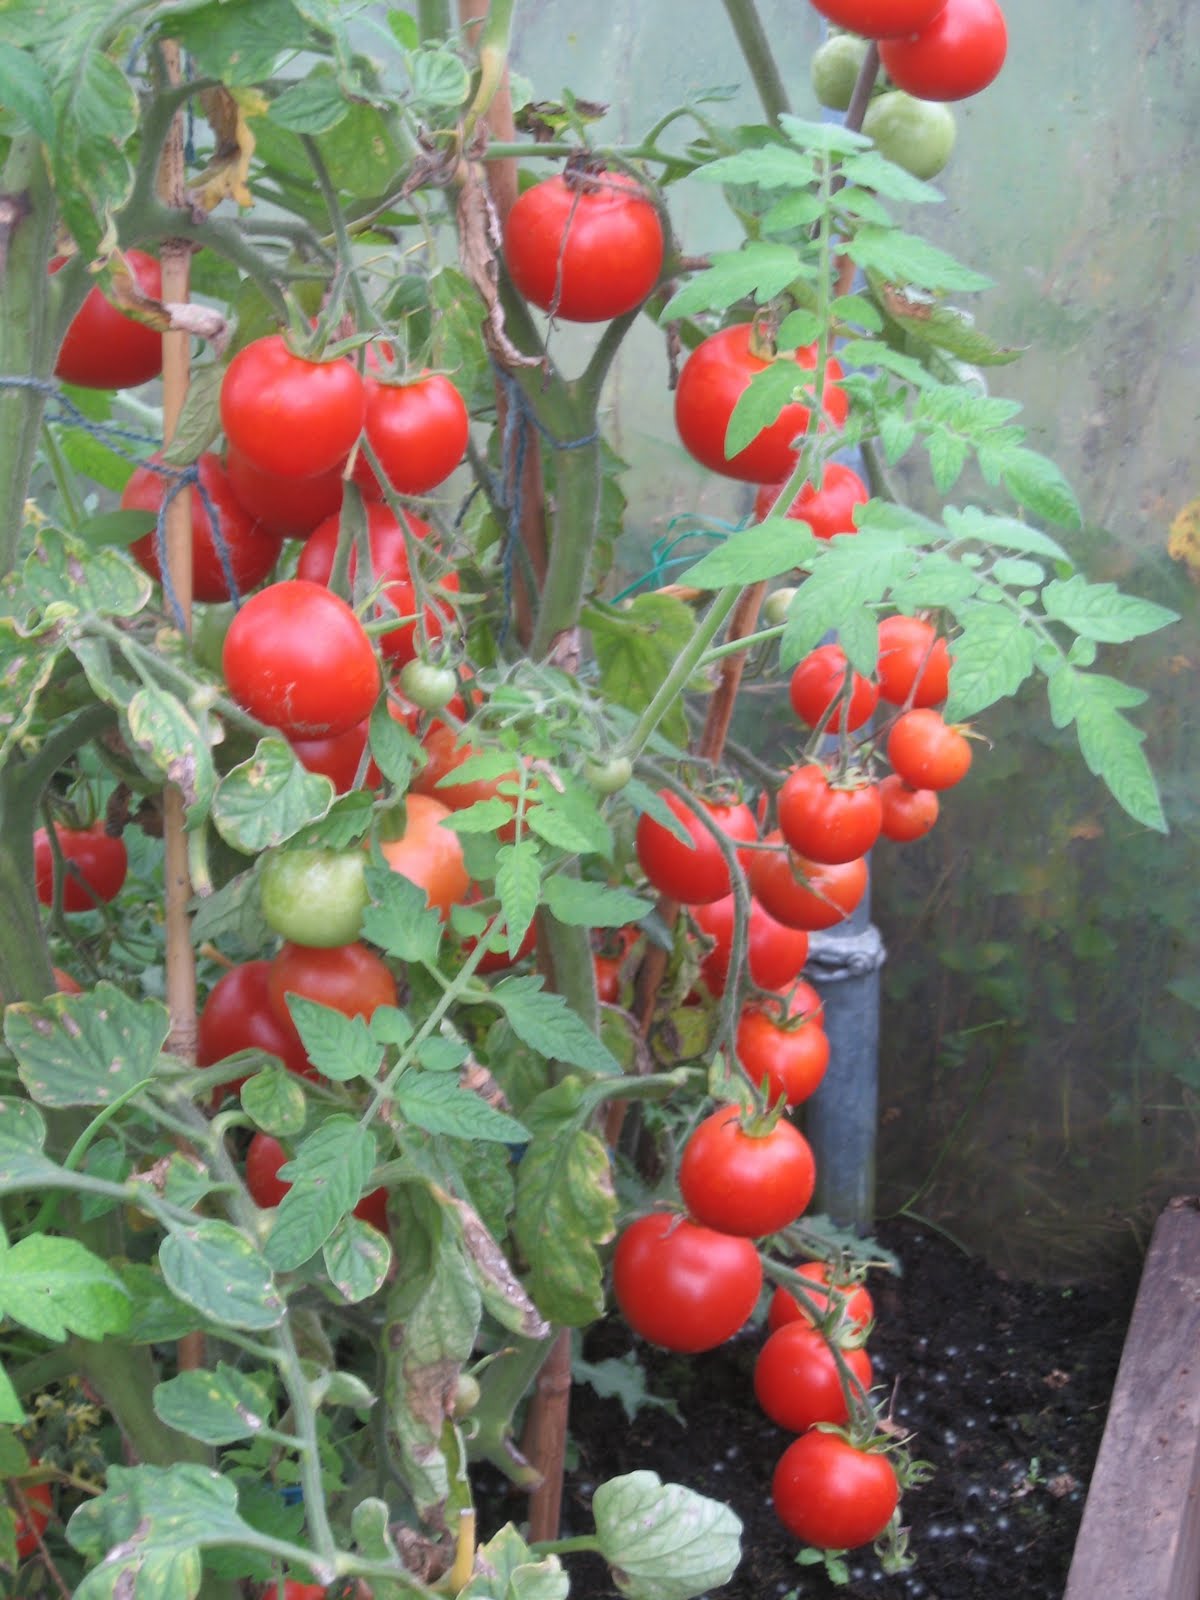
However, about 75% of them are infested with greenfly (little green aphids), so I went looking online for an effective organic / natural home-made green aphid killer !  I found a couple of easy options which I will share with you here.

You'll need a spray bottle to disperse the aphid death spray.  Those 1 litre (half a pint in the USA approx) hand held spray bottles are great.  You could always recycle one you have previously used for those household cleaning sprays, making sure that you clean it thoroughly inside or you could have a problem !

I will add my results to this post when I have made and tried each method.  It should be interesting !  I would also love to hear from you if you have tried either of them, or if you have any other great natural aphid killing methods.

Remember, that you should always spray your plants in the evening, preferably after sunset or on very dull days, or in the shade.  This is because wet leaves will burn in the sunlight.

1.  Tomato Leaf Aphid Spray


To me, this is the perfect Greenfly Killer.
The advantage of the tomato leaf spray is that it does not kill the beneficial insects that also inhabit your garden, just the aphids.
Tomatoes, as well as potatoes and all other members of the Nightshade family of plants (Solanaceae), contain alkaloids in their leaves, which are toxic to aphids (and to humans also if ingested in sufficiently large amounts, so just in case, please keep this spray away from children and label the bottle clearly).
The alkaloid in green tomatoes, tomato leaves and their stalks is called tomatine, and is the plants natural defence system against invaders that want to eat it or harm it.

Ingredients
1-2 cups of green tomato leaves
2 cups of water
Something to strain it through


Method
Chop the tomato leaves into small pieces, then put them with the 2 cups of water into a container.  Leave to soak overnight.
Next day, strain the leaves out of the liquid using the muslin cloth, squeezing all the liquid out.  You can put the soggy leaves on your compost heap.
Add 2 more cups of water to the resulting liquid, then put it into your spray bottle, ready to use.

23rd August 2015 Test Results
I made up the spray as per the recipe above, and used it on my 4, very affected, chilli plants which had been indoors.
The greenfly struggled and many died.  I wiped of the leaves gently with my fingers, removing the eggs (hundreds of them) as I did this.
There were no greenfly for a few days, but then a few reappeared and I have had to spray again and check for eggs again.  There were a few new eggs already !
So, it seems that the spray 'checks' them for a while, but doesn't kill em 100%.  You may need to reapply it every few days or so to really prevent the aphids getting ahold.

2.  Green Aphid Smoothie


This one is a bit yukky for anyone who is squeamish.

Pick as many of the greenly off the plants as you can, squash them to kill them, and drop them into a cup of water.  Just do one type of aphid at a time, as this method will only deter the same species as you made the smoothie from.

Put the cup of water and dead greenflies into a blender and zap it into a smooth watery liquid.  Pour this liquid into your spray bottle for use on the plants you wish to deter greenflies from living on.

Note:  If you make this smoothie with greenfly, then it will only deter greenfly.. If you have a whitefly problem also, you need to make a separate smoothie containing whiteflies to deter them.

This won't harm your blender in any way, but it may not be the method for you if you are vegetarian !  Unless you have a special blender just for garden use.


Monday, 20 September 2010

My Tomatoes in the Polytunnel

I took these photos of my various kinds of tomatoes yesterday, just before I picked the really ripe ones to make more of my pasta sauce (which I store in glass jars for the year).


Moneymaker

Moneymaker

Roma

Auld Sud

Italian beef tomato
(can't remember the name so I'll get it tomorrow from the plant label in the tunnel!)

Moneymaker

Moneymaker

Moneymaker

Roma

Wednesday, 9 December 2009

The Foods the Food Safety Experts Won't Eat

I found this article/blog post this evening and though that as it was so clearly written and full of proven accurate information, that I would share it will you all.

I already knew most of it - but I didn't realise about the canned tomatoes.

And don't think it is exaggerated scaremongering - it most definitely isn't. I have drank organic milk for years, and eat organic fruit and veg as much as I can.

I wouldn't touch farmed salmon with a bargepole - I used to see what they were fed... And I have a friend who gets very sick within a few minutes every time she eats farmed salmon.

However, there is an organic salmon farm off the coast of Galway - but I seem to only be able to find the smoked organic salmon in local stores - not fresh organic farmed salmon.

Meat is another biggie - If I can't afford the organic version, then I buy local meat I know has been grass fed and has had an outdoor life. But I try and stick to organic - or simply eat wild caught fish.

Here is the link - The foods the food safety experts won't eat

Wednesday, 2 September 2009

Homemade Tomato Ketchup

Tonight I am making tomato ketchup mmmmm.

I hated ketchup all my life (junk food full of chemicals). And then 2 years ago I had so many tomatoes I needed something extra to make with them. As I was involved in farmer's markets at the time, I decided to make tomato ketchup and sell it !

I never dreamt I'd want to eat it all...

Now I make enough to last me a year until next years tomato crop. Roughly double the quantities in the recipe below will supply me for the year, although I'm just one person.

I also use almost all organic ingredients, and naturally the veggies are organic as I grow most myself.

Tomato Ketchup
(Original recipe adapted from the Australian Women's Weekly)

4.5 lbs Tomatoes
2 medium Onions
8oz White Sugar
4.5 fluid ounces Red Wine Vinegar (just over half a cup)
1 tablespoon thick Tomato Puree
2 teaspoons coarse Sea Salt
1 Bay Leaf
1 teaspoon Black Peppercorns
6 whole Cloves

1. Chop the tomatoes and onions roughly. They don't need to be small. Put in a large saucepan.

2. Place the bay leaf, peppercorns and cloves into a muslin bag and tie tightly to close. Put the bag into the pan with the tomatoes and onion.

3. Bring to the boil.

4. Simmer uncovered for about 45 minutes. Stir now and then. If at 45 minutes the onion isn't soft, keep going until it is.

5. Take out the bag and throw away.

6. Cool in the pan for about 10 minutes.

7. Blend the mixture with a hand blender or in a food processor until it is smooth.

8. Strain the blended mixture through a fine sieve and put it back into the saucepan.

9. Add all the other ingredients. Stir over a gentle heat and do not let it boil. Do this until the sugar dissolves.

10. Now simmer for from 15 to 60 minutes, uncovered, or until the mixture thickens to the pouring consistency that you personally like.

11. Pour the hot ketchup into sterilised jars or bottles and seal them fast whilst still very hot.

I have kept these in a cool dark place for up to a year. However, once you open one it will need to be kept in a fridge.

Wednesday, 26 August 2009

Oven Dried Tomatoes in Basil Oil

I'm assuming many people who grow tomatoes through the summer are still looking for delicious ways to store them for the winter. I know I am.

Now I love sun dried tomatoes, so when I found this recipe in an old Australian Woman's Weekly book I tried it. I have been using it ever since and they are heaven !

Oven Dried Tomatoes in Basil Oil

30 Tomatoes (normal sized ones - not big beef ones and not tiny bite size cherry ones)
4 cloves of Garlic, thinly sliced
12 fresh Basil leaves
500ml (2 cups) Olive Oil

1. Cut the tomatoes in half lengtheways, cutting down from where it was attached to the stalk.

2. Place the tomatoes (cut-side up), garlic cloves and basil leaves on wire racks sat in oven trays.

3. Sprinkle the tomatoes with sea salt.

4. Dry inside a very slow oven for 6 to 8 hours. Ensure the oven is on its lowest setting. Dry until the tomatoes are dry to the touch.

5. Take the basil out after about 20 minutes or so, as it should be dry by then. The garlic will take about 30 minutes.
Remove the garlic and basil from the oven seperately when each is crisp in turn.

6. Turn and rearrange the tomatoes several times during the drying process.

7. When all the bits are dry, pack them all into a hot good sized sterilised glass jar or jars.

8. Pour the olive oil over to cover the dried tomatoes completely.

9. Seal immediately.

Friday, 21 August 2009

Homemade Tomato Ketchup and a dash of romance

As usual I am realising my excesses... 50+ tomato plants is a wee bit OTT to supply one single female who doesn't even like eating them raw.

I have about 40 Moneymaker plants which are normal size tomatoes, 10 Tumbling Toms which are cherry toms (can't remember the exact name), 5 Gardener's Delight plants (more cherry toms but climbers), 2 plants given to me by a friend who used seeds from the Irish Seed Savers, and a few strays (no idea what kind) which have self seeded into the tunnel's soil from last summer. After an early setback where I unknowingly deprived the poor little dears of nitrogen, they are now rampaging happily around the tunnel reproducing like mad.

Hence, all my friends and relatives are going to be receiving tomato ketchup for xmas this year... with a cute little red bow on each bottle of course.

Lucky I also like pasta sauce... I find I use it for no end of meals, including lasagne and spaghetti bolognaise, as well as those heavenly burrito thingamys they have in southern parts of the states, or is it Mexico ? Yummy.


And of course I also put it on pasta.

Naturally amid all this bounty and frenzied cooking and preserving, I have become rather a recluse, for want of a better word... Who could possibly want a wild social life when she can spend her evenings making jam, preserving various vegetables and writing this blog.

Well into this domestic bliss has snook a white knight in shining armour, who has declared that he's whisking the aforementioned blog writer off for a day of nature appreciation and good food. Will the tomatoes manage without me for a few hours ? Will the donkeys choose this moment to go walkies up the road yet again ? Will I ever be the same again ? Do I wear wellies or high heels ?

For the answers to these questions I am afraid that you will have to wait until next Tuesday... Meanwhile, here is the Tomato Ketchup recipe I promised you.

Sophii's Tomato Ketchup

16 large Tomatoes (about 4kg), chopped
4 Onions (600g), chopped
2 cups (440g) white Sugar
2 tablespoons Tomato Puree (paste)
12 Cloves (whole)
2 teaspoons Black Peppercorns (whole)
2 bay leaves
1 cup (250ml) Red Wine Vinegar
4 teaspoons coarse sea salt

1. Have a small of muslin and pile the peppercorns, cloves and bay leaves in the middle. Tie the ends to make a small herb bag.

2. Put the tomatoes, onions, and the muslin herb bag into a large heavy bottomed saucepan. Bring to the boil.

3. Once boiling, turn down the heat until the mix is just simmering, uncovered, for around 45 minutes. Make sure the onion is soft, if not simmer a bit longer. Remember to stir it now and then.

4. Take out the muslin herb bag. Let the mix cool for about 10 minutes.

5. Use a blender (a hand one will do) to blend the mixture into a smooth consistency.

6. Strain through a fairly fine sieve, and then return the mix to the pan. This part is important.

7. Add the rest of the ingredients.

8. Return to the heat and stir gently, until the sugar is dissolved. DO NOT let it boil.

9. Simmer the ketchup, uncovered, for 15 minutes maybe more, until it thickens to the consistency that you like your ketchup. This process is called reducing. Remember to stir it now and then to stop the mix sticking to the bottom of the pan.

10. When thickened, pour the ketchup into pre-sterilised glass bottles or jars, and put the lids on straight away whilst they are very hot.

This should store for at least 6 months in a cool place, maybe more, without light if possible. Once you open a bottle, keep it in the fridge.

Tomorrow - Onion Marmalade (as I have a thing about marmalade...)


Friday, 14 August 2009

Fresh Tomato & Basil Pasta Sauce

I have a tonne of tomatoes ripening in the polytunnel, so now I start making pasta sauces and ketchups etc for the winter. Free food ! I love it.

Here is my recipe for a very simple, basic and easy to make fresh tomato and basil pasta sauce. I made a small batch today and have stashed them away for the cold winters evenings.

Tomato & Basil Pasta Sauce

I never measure the ingredients, I just know by memory and what it looks like... so here goes -

15 ripe tomatoes

Basil leaves - fresh - loads !
(if you don't have fresh basil, use about 4 tablespoons of dried basil)

Garlic cloves - use a whole bulb

2 medium onions

1. Chop the onions small. Throw them into a big pan on the stove top with some olive oil in the bottom. Saute lightly for 4 minutes.

2. Chop the tomatoes small too, including the skins. Throw them into the pan too. Keep cooking gently.

3. Chop the garlic cloves and put them through a garlic press if you have one. Otherwise just chop them very finely. Add them to the pan and keep simmering.

4. Chop the basil leaves very finely and also add to the pan.

5. Cook whilst keeping the pan covered, on a gentle heat on the top of the stove/cooker/hob. Stir every few minutes.

6. After about an hour of gentle simmering all will be well infused and the vegetables beautiful and soft.

7. It is now ready to either eat fresh, or to be put into sterilised jars whilst hot (put the lids on fast while very hot to seal and create a vacuum).

If you prefer you can whizz the sauce in a blender to give a smooth sauce, rather than a lumpy textured one.

This will keep in the jars for up to a year. Alternatively you can freeze it.

Happy eating Italian style on our wonderful balmy summers evenings ! Well I can dream can't I...